Unlock Gourmet Flavor: Your Guide to Homemade Sun-Dried Tomatoes
Imagine a burst of intense, sweet-tart flavor, a chewy texture, and a vibrant color that elevates any dish from simple to gourmet. That's the magic of homemade sun dried tomatoes. Far from being a mere dried food, these little gems are a pantry staple that can transform your cooking, bringing a taste of summer to your table all year round. While store-bought options are available, crafting your own offers unparalleled freshness, flavor control, and a satisfying connection to culinary tradition.
For centuries, cultures from ancient Aztecs to Italians drying their bounty on ceramic rooftops have understood the power of preserving tomatoes under the sun. This age-old method wasn't just about extending shelf life; it concentrated the tomato's natural sugars and umami, turning a perishable fruit into a flavor powerhouse. Tomatoes can lose a staggering 88-93% of their water content during drying, intensifying their essence dramatically. This tradition explains why so many Mediterranean recipes, in particular, feature sun-dried tomatoes so prominently. Today, you can carry on this delicious legacy right in your own home.
Choosing Your Tomatoes for Peak Flavor
The journey to perfect homemade sun dried tomatoes begins with selecting the right produce. While almost any tomato variety can be dried, some are better suited for the task due to their flesh-to-seed ratio and moisture content:
- Roma Tomatoes: Often considered the gold standard for sun-drying, Romas (also known as plum tomatoes) boast thick walls, fewer seeds, and a lower moisture content, making them ideal for efficient drying. Their elongated shape also makes for easy slicing.
- Cherry or Grape Tomatoes: Don't overlook these smaller varieties! Halved cherry or grape tomatoes dry quickly and offer adorable, bite-sized bursts of flavor, perfect for salads or as a snack. They often present a beautiful, gem-like appearance when dried, especially if you use heirloom varieties with varied colors.
- Other Varieties: Larger, juicier slicing tomatoes can also be used, but you might need to scoop out some of the seedy pulp to speed up drying and prevent mold.
Regardless of your choice, aim for tomatoes of uniform size. This ensures they dry at a similar rate, preventing some from becoming over-crispy while others are still moist inside. Opt for ripe, firm tomatoes free of blemishes for the best results.
Two Delicious Paths: Sun Drying vs. Oven Drying
Whether you're a purist embracing ancient traditions or prefer the consistency of modern methods, there are two primary ways to create exquisite homemade sun dried tomatoes.
The Old-Fashioned Way: Harnessing the Sun
If you live in a region with consistently hot, dry, and sunny weather, the traditional sun-drying method is an incredibly rewarding experience. It takes patience but yields tomatoes with an unparalleled depth of flavor. For a more detailed comparison of methods, check out our article on Sun vs. Oven: Best Way to Make Flavorful Sun-Dried Tomatoes.
- Preparation: Wash and thoroughly dry your tomatoes. For Romas or similar, slice them in half lengthwise. For cherry tomatoes, halve them. For larger varieties, you might quarter them or remove some of the seedy core.
- Salting: Lightly sprinkle the cut sides of the tomatoes with fine sea salt. Salt not only enhances flavor but also helps draw out moisture.
- Arrangement: Place the tomato halves cut-side up on a raised drying screen. Good air circulation is paramount, so ensure the screen is elevated a few inches off the ground (e.g., using bricks or bottles). This allows air to flow all around the tomatoes, preventing moisture buildup underneath.
- Protection & Placement: Cover the tomatoes with a layer of cheesecloth, ensuring it's also raised so it doesn't touch the tomatoes. This protects against insects, dust, and curious critters while still allowing vital air circulation. Place your drying setup in the hottest, sunniest spot, preferably on a hard surface that absorbs and reflects heat.
- Drying Time & Care: This is where patience comes in! Depending on humidity and sun intensity, sun drying can take anywhere from four days to two weeks. Crucially, you must bring the tomatoes indoors every evening. The evening dew can reintroduce moisture and undo your drying efforts, creating a breeding ground for mold.
- Checking for Doneness: Your tomatoes are ready when they are leathery and pliable, not crispy, and contain no visible internal moisture. Squeeze one gently; no liquid should emerge. Plan for approximately 10 standard Roma tomatoes to yield about one ounce of dried tomatoes.
Embracing this method is a journey back in time, and you can learn more about this traditional art in our article Drying Tomatoes Old-Fashioned Way: Your Gourmet Pantry Staple.
The Modern Convenience: Oven Drying
If consistent sunshine is a luxury or you simply prefer a faster, more controlled method, your oven is an excellent tool for making fantastic homemade sun dried tomatoes. This "oven-dried" method achieves similar results to traditional sun-drying, concentrating flavors beautifully.
- Preparation: Follow the same washing and slicing steps as for sun-drying.
- Seasoning: Arrange tomato halves cut-side up on baking sheets lined with parchment paper or silicone mats. Drizzle lightly with olive oil (optional, but adds richness) and sprinkle with salt. You can also add a pinch of dried oregano or other herbs if desired.
- Low and Slow Baking: Place the baking sheets in your oven set to its lowest temperature, typically between 175°F (79°C) and 250°F (121°C). The key is low heat for a long time.
- Drying Time: This process can take anywhere from 4 to 12 hours, depending on your oven, tomato size, and desired dryness. Cherry tomatoes might be ready in 3-5 hours, while larger halves could take 8-12 hours. It's virtually fool-proof; if you leave them in a little longer, they'll just get drier.
- Monitoring: Periodically check on your tomatoes, rotating the sheets if your oven has hot spots. You'll know they're done when they are shriveled, deeply colored, pliable, and no longer wet. They should feel leathery and dry to the touch, not brittle or crunchy.
- Cooling: Let the tomatoes cool completely on the baking sheets before storing.
Oven drying offers a "hands-off" process once they're in the oven, allowing you to achieve perfectly dried tomatoes with minimal fuss.
Storage Solutions for Your Homemade Sun-Dried Tomatoes
Proper storage is crucial to enjoying your homemade sun dried tomatoes for months to come and preventing spoilage. Your goal is to ensure no internal moisture remains, as this is a prime cause of bacterial growth.
- Dry Storage: Once absolutely dry and completely cooled, place your tomatoes in airtight containers or vacuum-sealable bags. Store them in a cool, dark pantry. Properly dried and stored, they can last up to seven months. Always inspect them for any signs of mold before use.
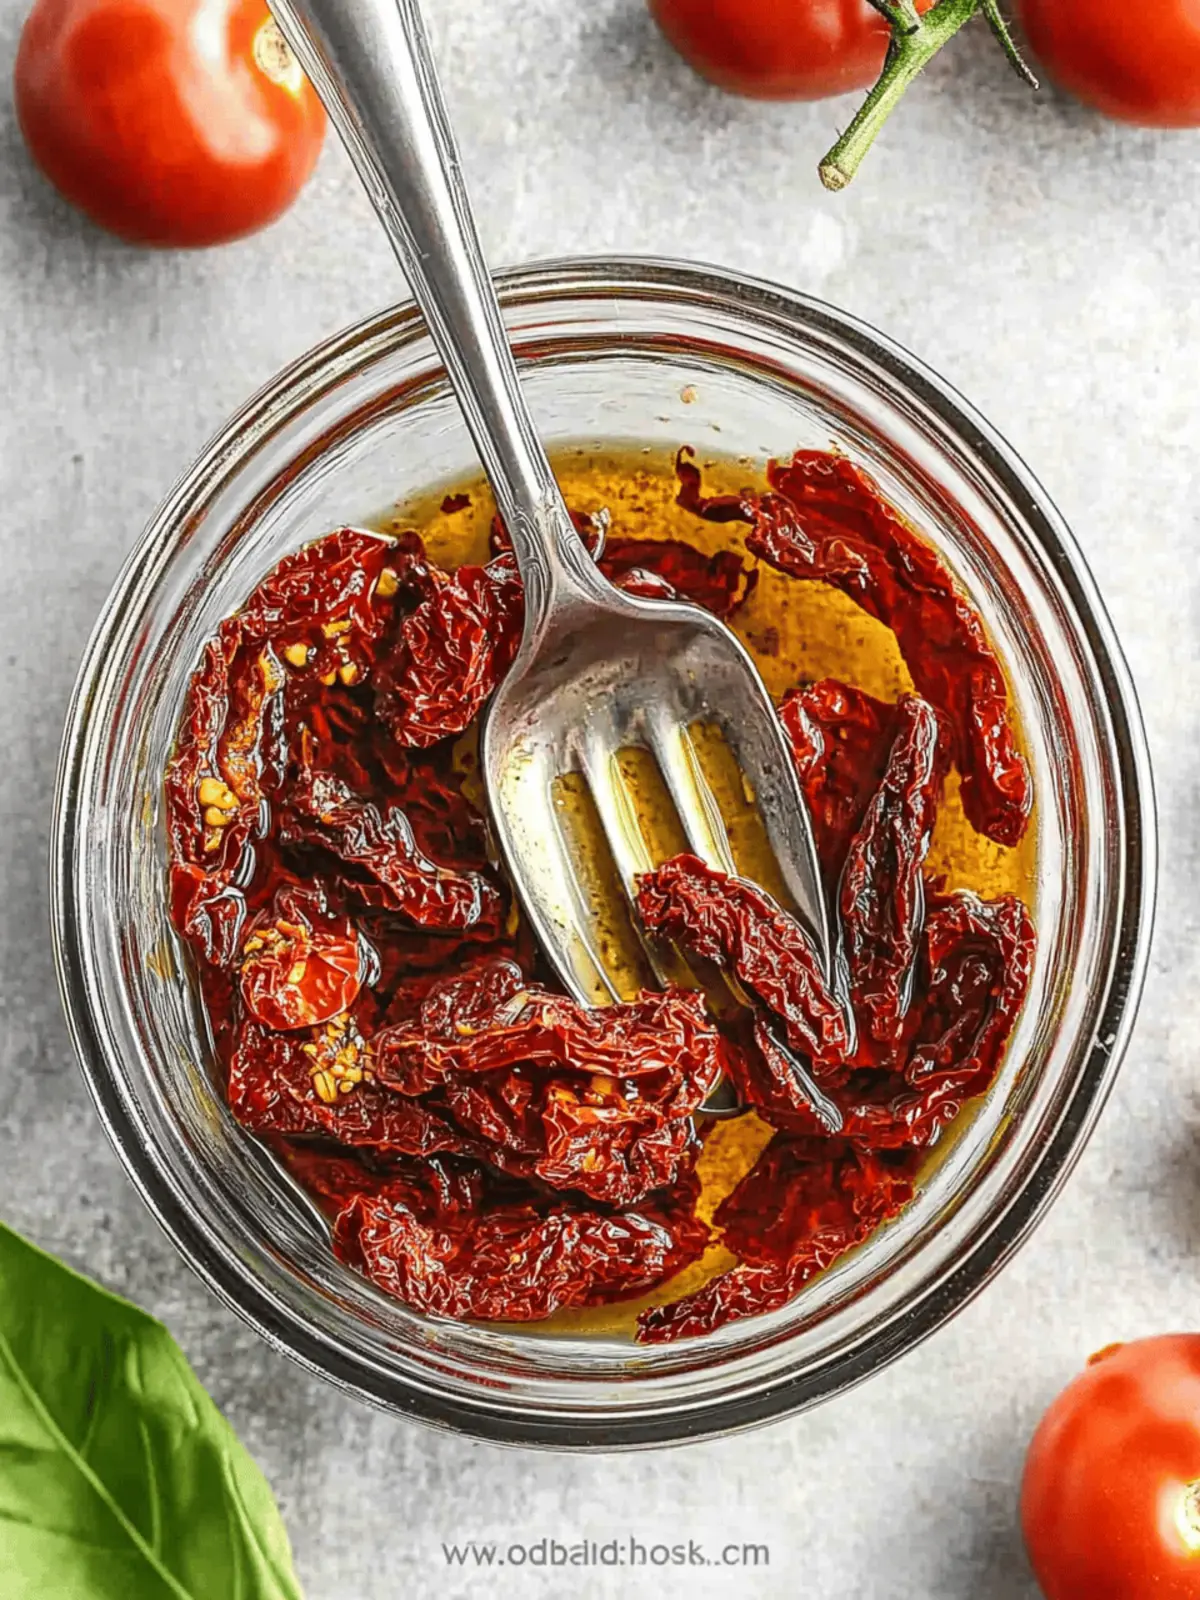
- Oil-Packed Storage: This is a popular method that adds flavor and can extend shelf life, but it comes with a critical caveat. Pack your dried tomatoes into sterilized jars and cover them completely with olive oil. For extra flavor, you can add dried herbs (like rosemary or oregano). Important: If you add fresh ingredients like fresh garlic or fresh herbs to oil-packed tomatoes, they must be refrigerated and consumed within a week to avoid the risk of botulism. The anaerobic (oxygen-free) environment of oil can be a perfect breeding ground for the bacteria that cause botulism, especially when fresh low-acid ingredients are present. For longer-term oil-packed storage without refrigeration, avoid fresh additives or consider acidifying the tomatoes with vinegar first.
- Freezing: For the longest preservation, freezing is an excellent option. Once cooled, spread the dried tomatoes in a single layer on a baking sheet and freeze until solid. Then transfer them to freezer-safe bags or containers. This prevents them from clumping together, allowing you to take out just what you need. Frozen homemade sun dried tomatoes can last for over a year.
Always err on the side of caution. If your sun-dried tomatoes show any signs of rot, mold, or an off smell, discard them immediately.
Culinary Inspiration: How to Use Your Sun-Dried Tomatoes
Now that you've mastered making and storing them, get ready to unleash the flavor of your homemade sun dried tomatoes in countless dishes. Their concentrated umami and sweetness make them incredibly versatile:
- Pasta Dishes: Toss into warm pasta with olive oil, garlic, and fresh basil for a simple yet elegant meal.
- Salads: Chop and add to green salads, grain salads, or even potato salad for a bright, chewy counterpoint.
- Spreads & Dips: Blend into homemade pesto, hummus, or a creamy white bean dip. Create a vibrant tapenade with olives and capers.
- Sandwiches & Wraps: Layer them into sandwiches, paninis, or wraps for an extra punch of flavor.
- Baked Goods: Incorporate them into savory scones, focaccia bread, or even a frittata.
- Eggs: Chop and mix into scrambled eggs, omelets, or quiches.
- Pizza & Flatbreads: A fantastic topping that adds intense flavor without making the crust soggy.
Conclusion
Making your own homemade sun dried tomatoes is a culinary endeavor that truly pays off. Whether you choose the rustic charm of sun-drying or the convenience of oven-drying, you'll be rewarded with a versatile ingredient that elevates everyday meals and adds a gourmet touch to special occasions. It's a simple process with a delicious outcome, transforming humble tomatoes into a concentrated burst of flavor that you'll be proud to have as a staple in your pantry.
